Raised Beds
Both Susan and I grew up with fond memories of home gardens. In Newburyport we had a small back yard with two small 3′ by 6′ patches of soil which we grew food in a few years we lived there. They were less of a garden and more of a patch of dirt we were determined to grow something in. Despite being dry rocky soil which we did not really care for we managed to grow a decent crop of strawberries the final two years we lived there. With a larger back yard in Chelmsford, we decided it was time to put in more growing space.
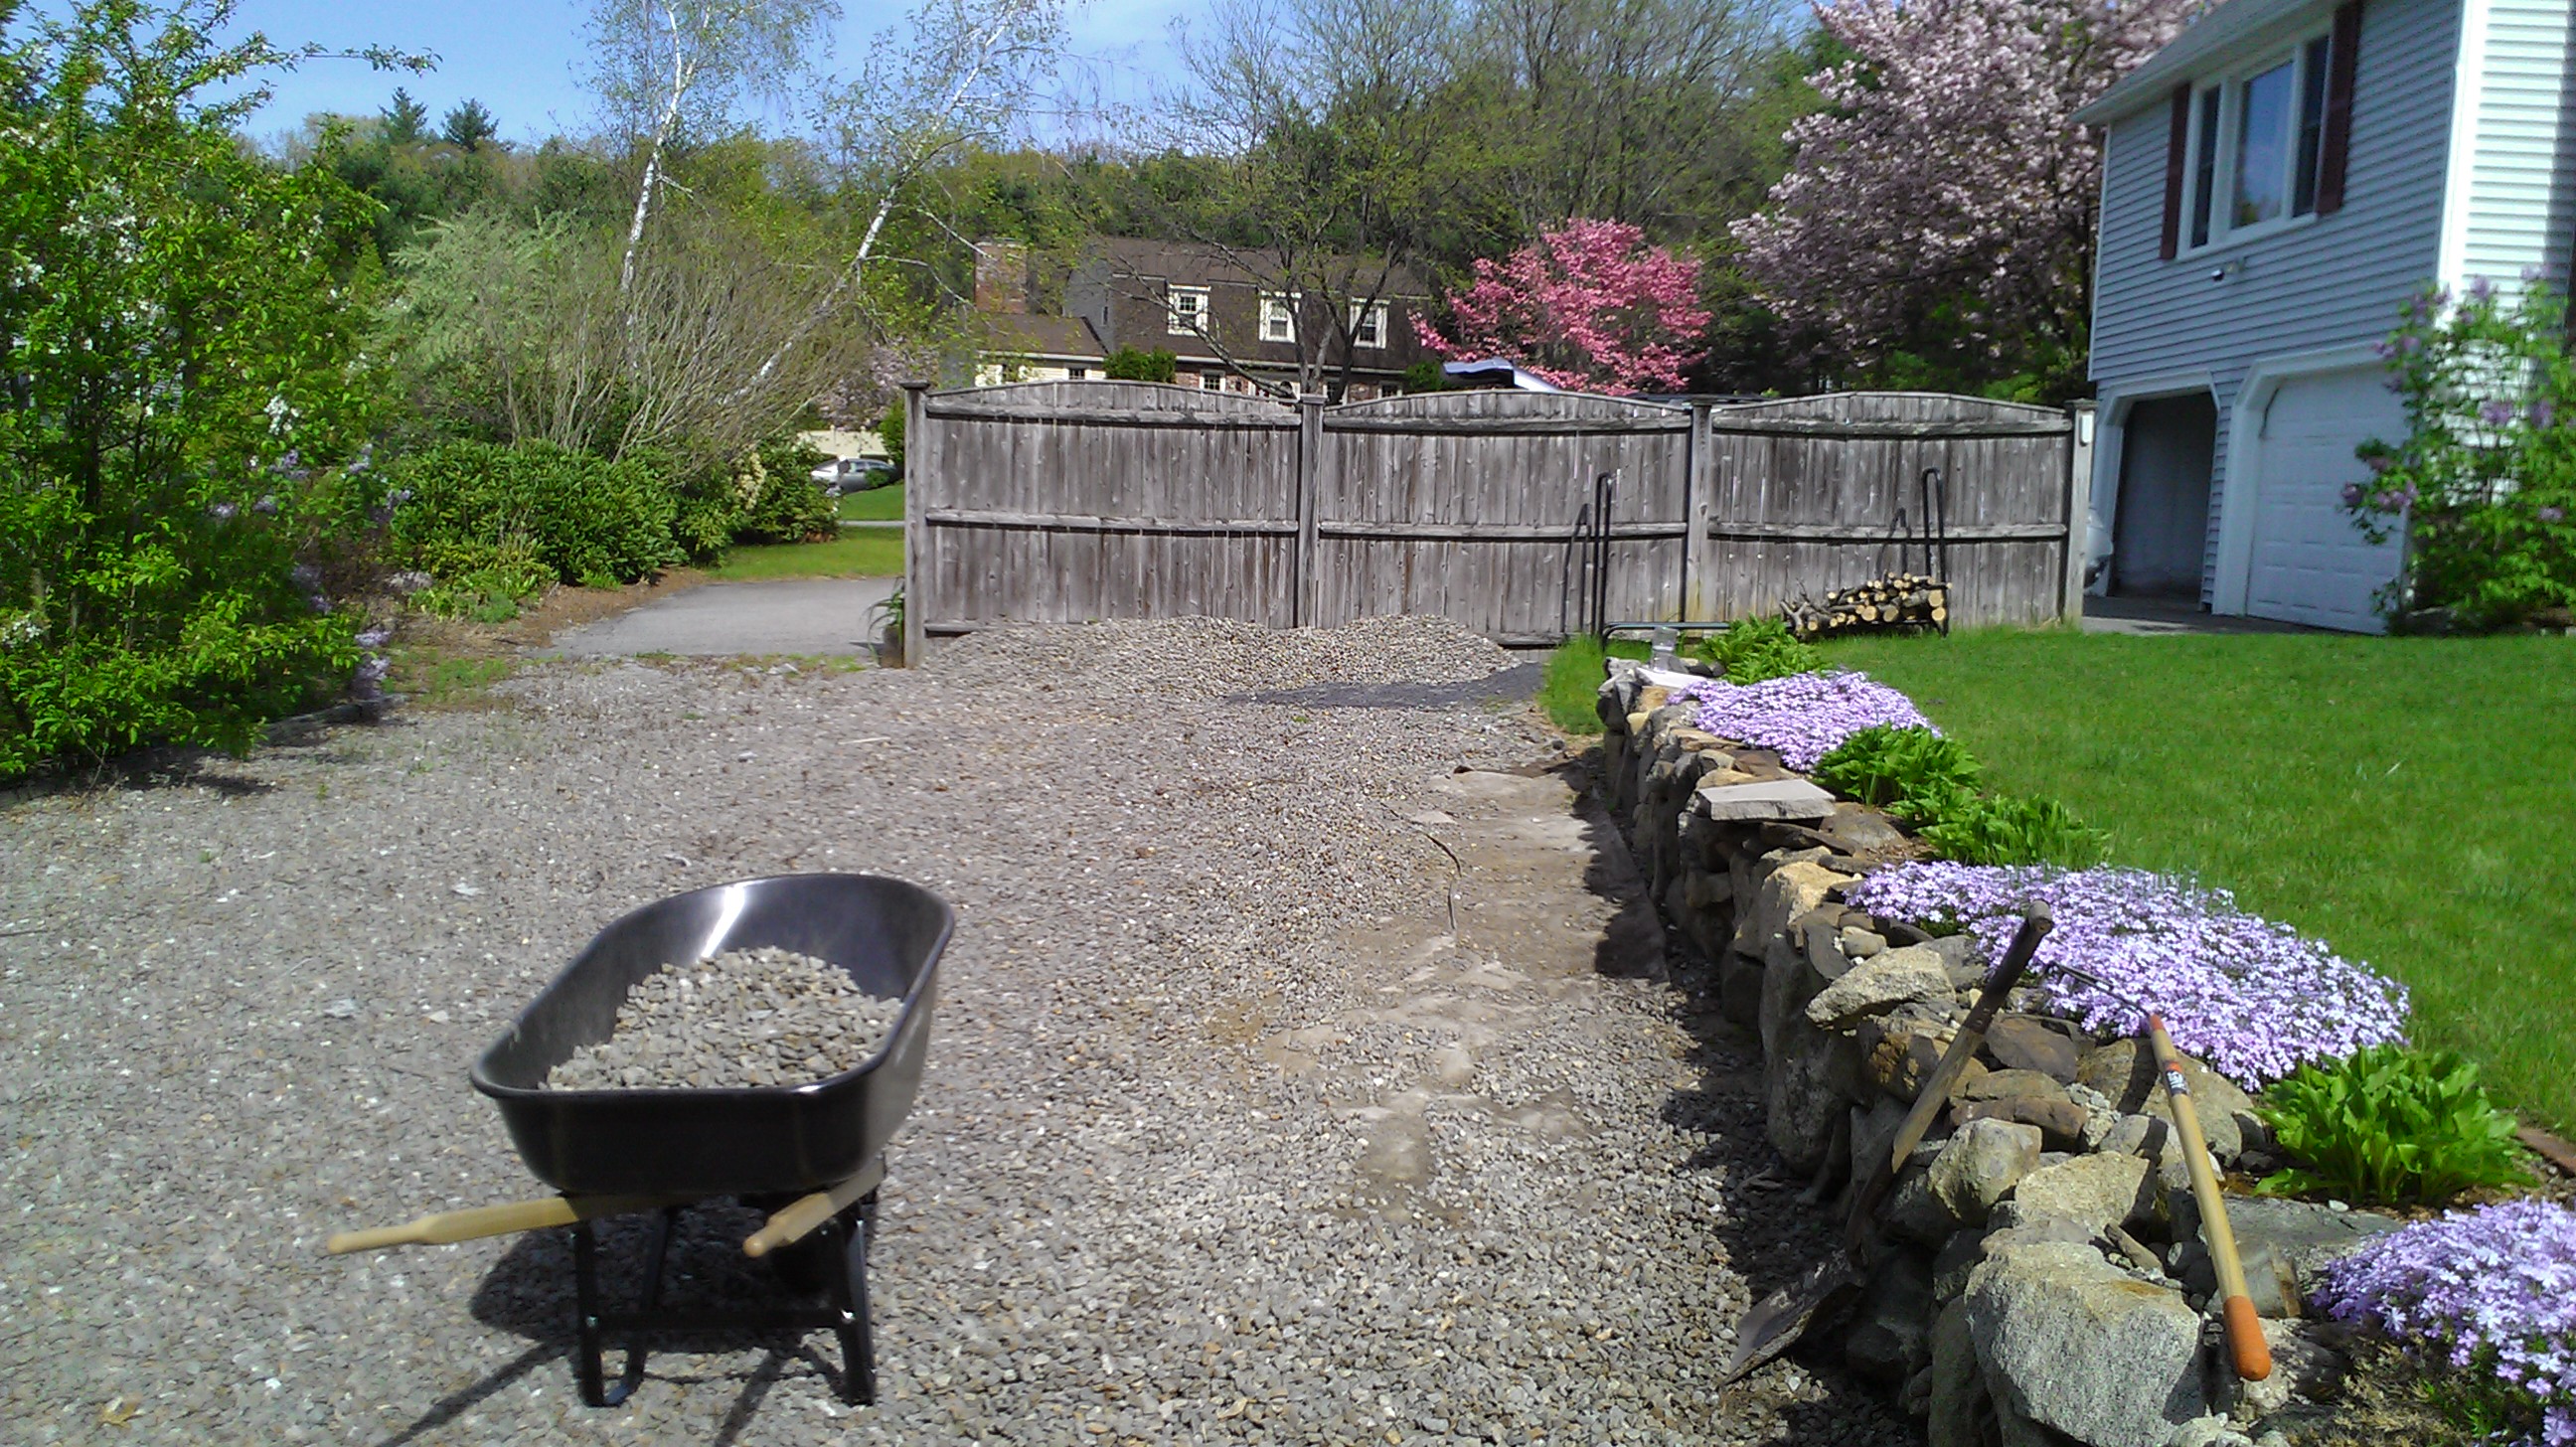
The obvious place to put the garden in the back yard is off to one corner behind the driveway. Because of the trees around our property and the location of the house this is about the only spot that gets sufficient sun to grow any hot weather crops. The problem with this location is that the previous owners had used it for some other purpose and it was covered with stones, weed cloth, a layer of pea gravel, and finally a layer of decomposing plastic. Before we could plant we’d need to clear the area.
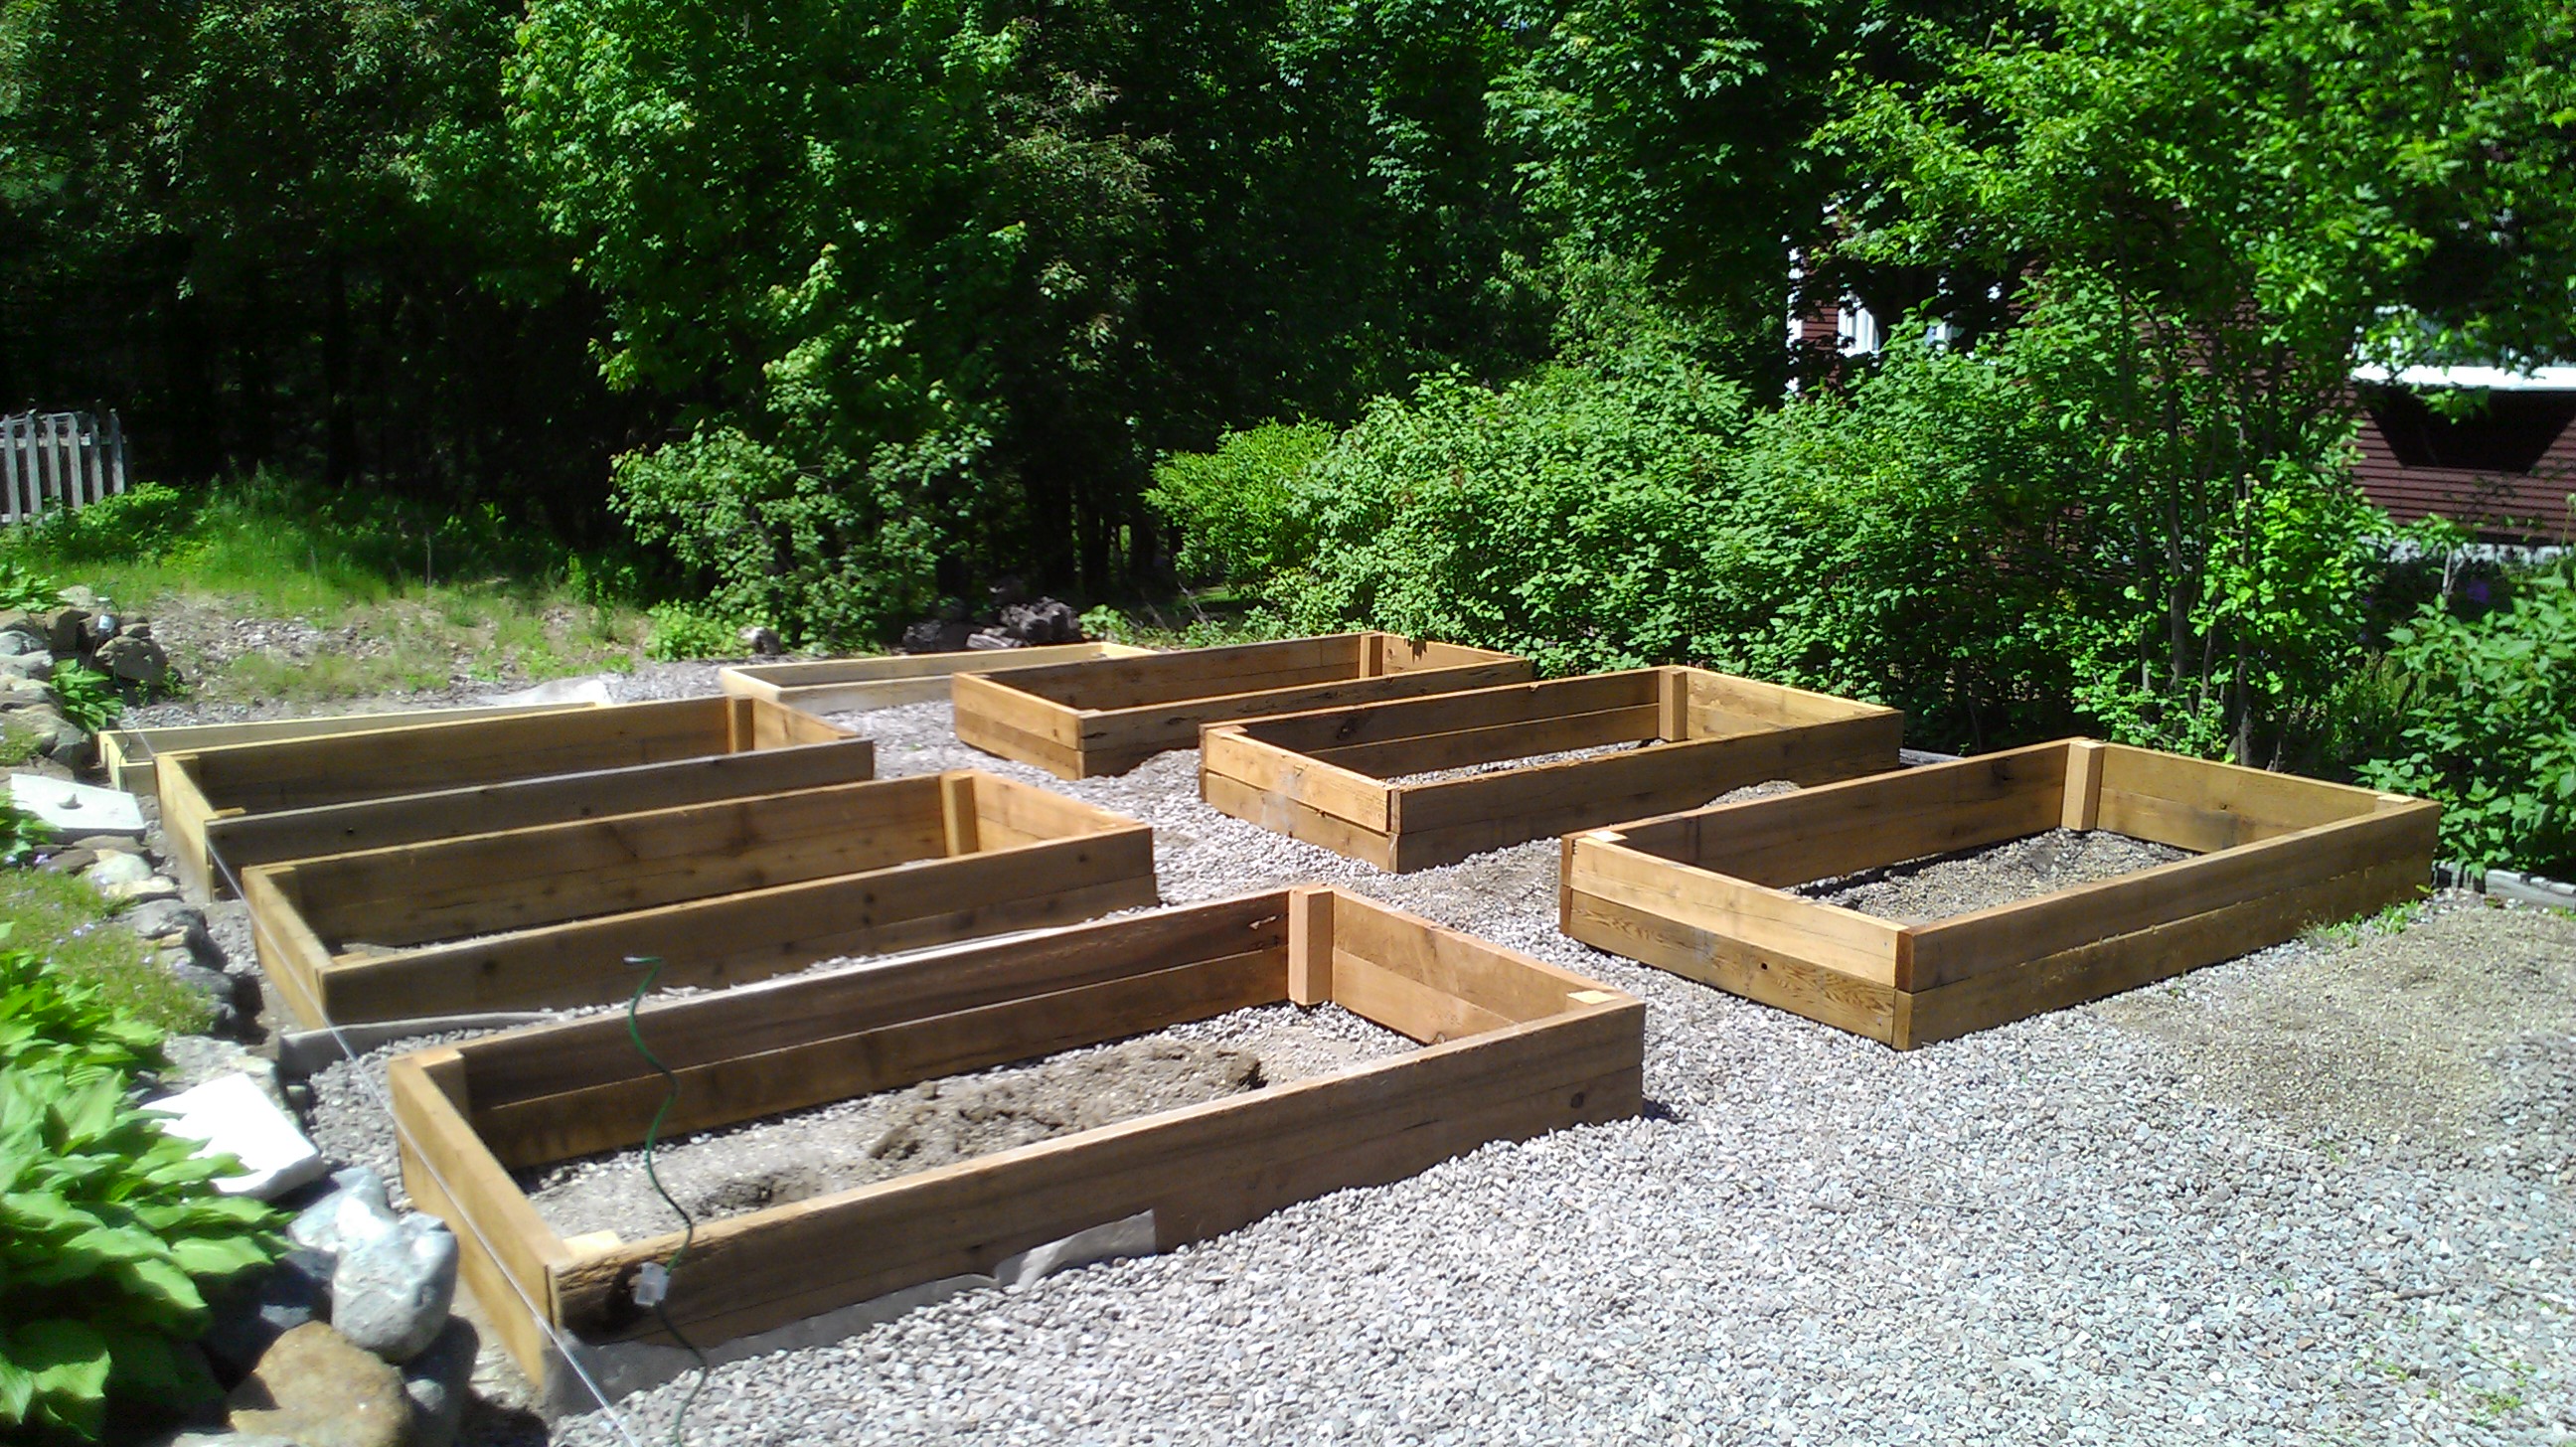
Moving enough stone so that we could think about putting down the beds took a week or two. During that time, I started looking for lumber to build the beds out of. The best materials to build raised beds out of appeared to be cedar or redwood as they are both naturally water and insect resistant. Unfortunately in the northeast it is hard to find these woods in rough cuts. Most of the cedar gets made into deck material which is substantially more expensive than rough cut lumber. I managed to find one mill in southern New Hampshire that had enough 2×6 rough cut cedar to make six 4 foot by 8 foot beds.
The lumber arrived but still needed to cut to length to assemble. The design I chose was to build two 4 foot by 8 foot frames out of 2×6 and to stack them on top of each other and held together by 4x4s in the corners. I enlisted the help of my friend Dan to help cut and assemble the beds. This was a bit of an adventure as my selection of tools was somewhat limited. I did not have a lot of garage/workshop space in Newburyport and kept my tool collection pretty small. Fortuantely, I do own an electric chainsaw which turned out to work the best for cutting the boards down to size.
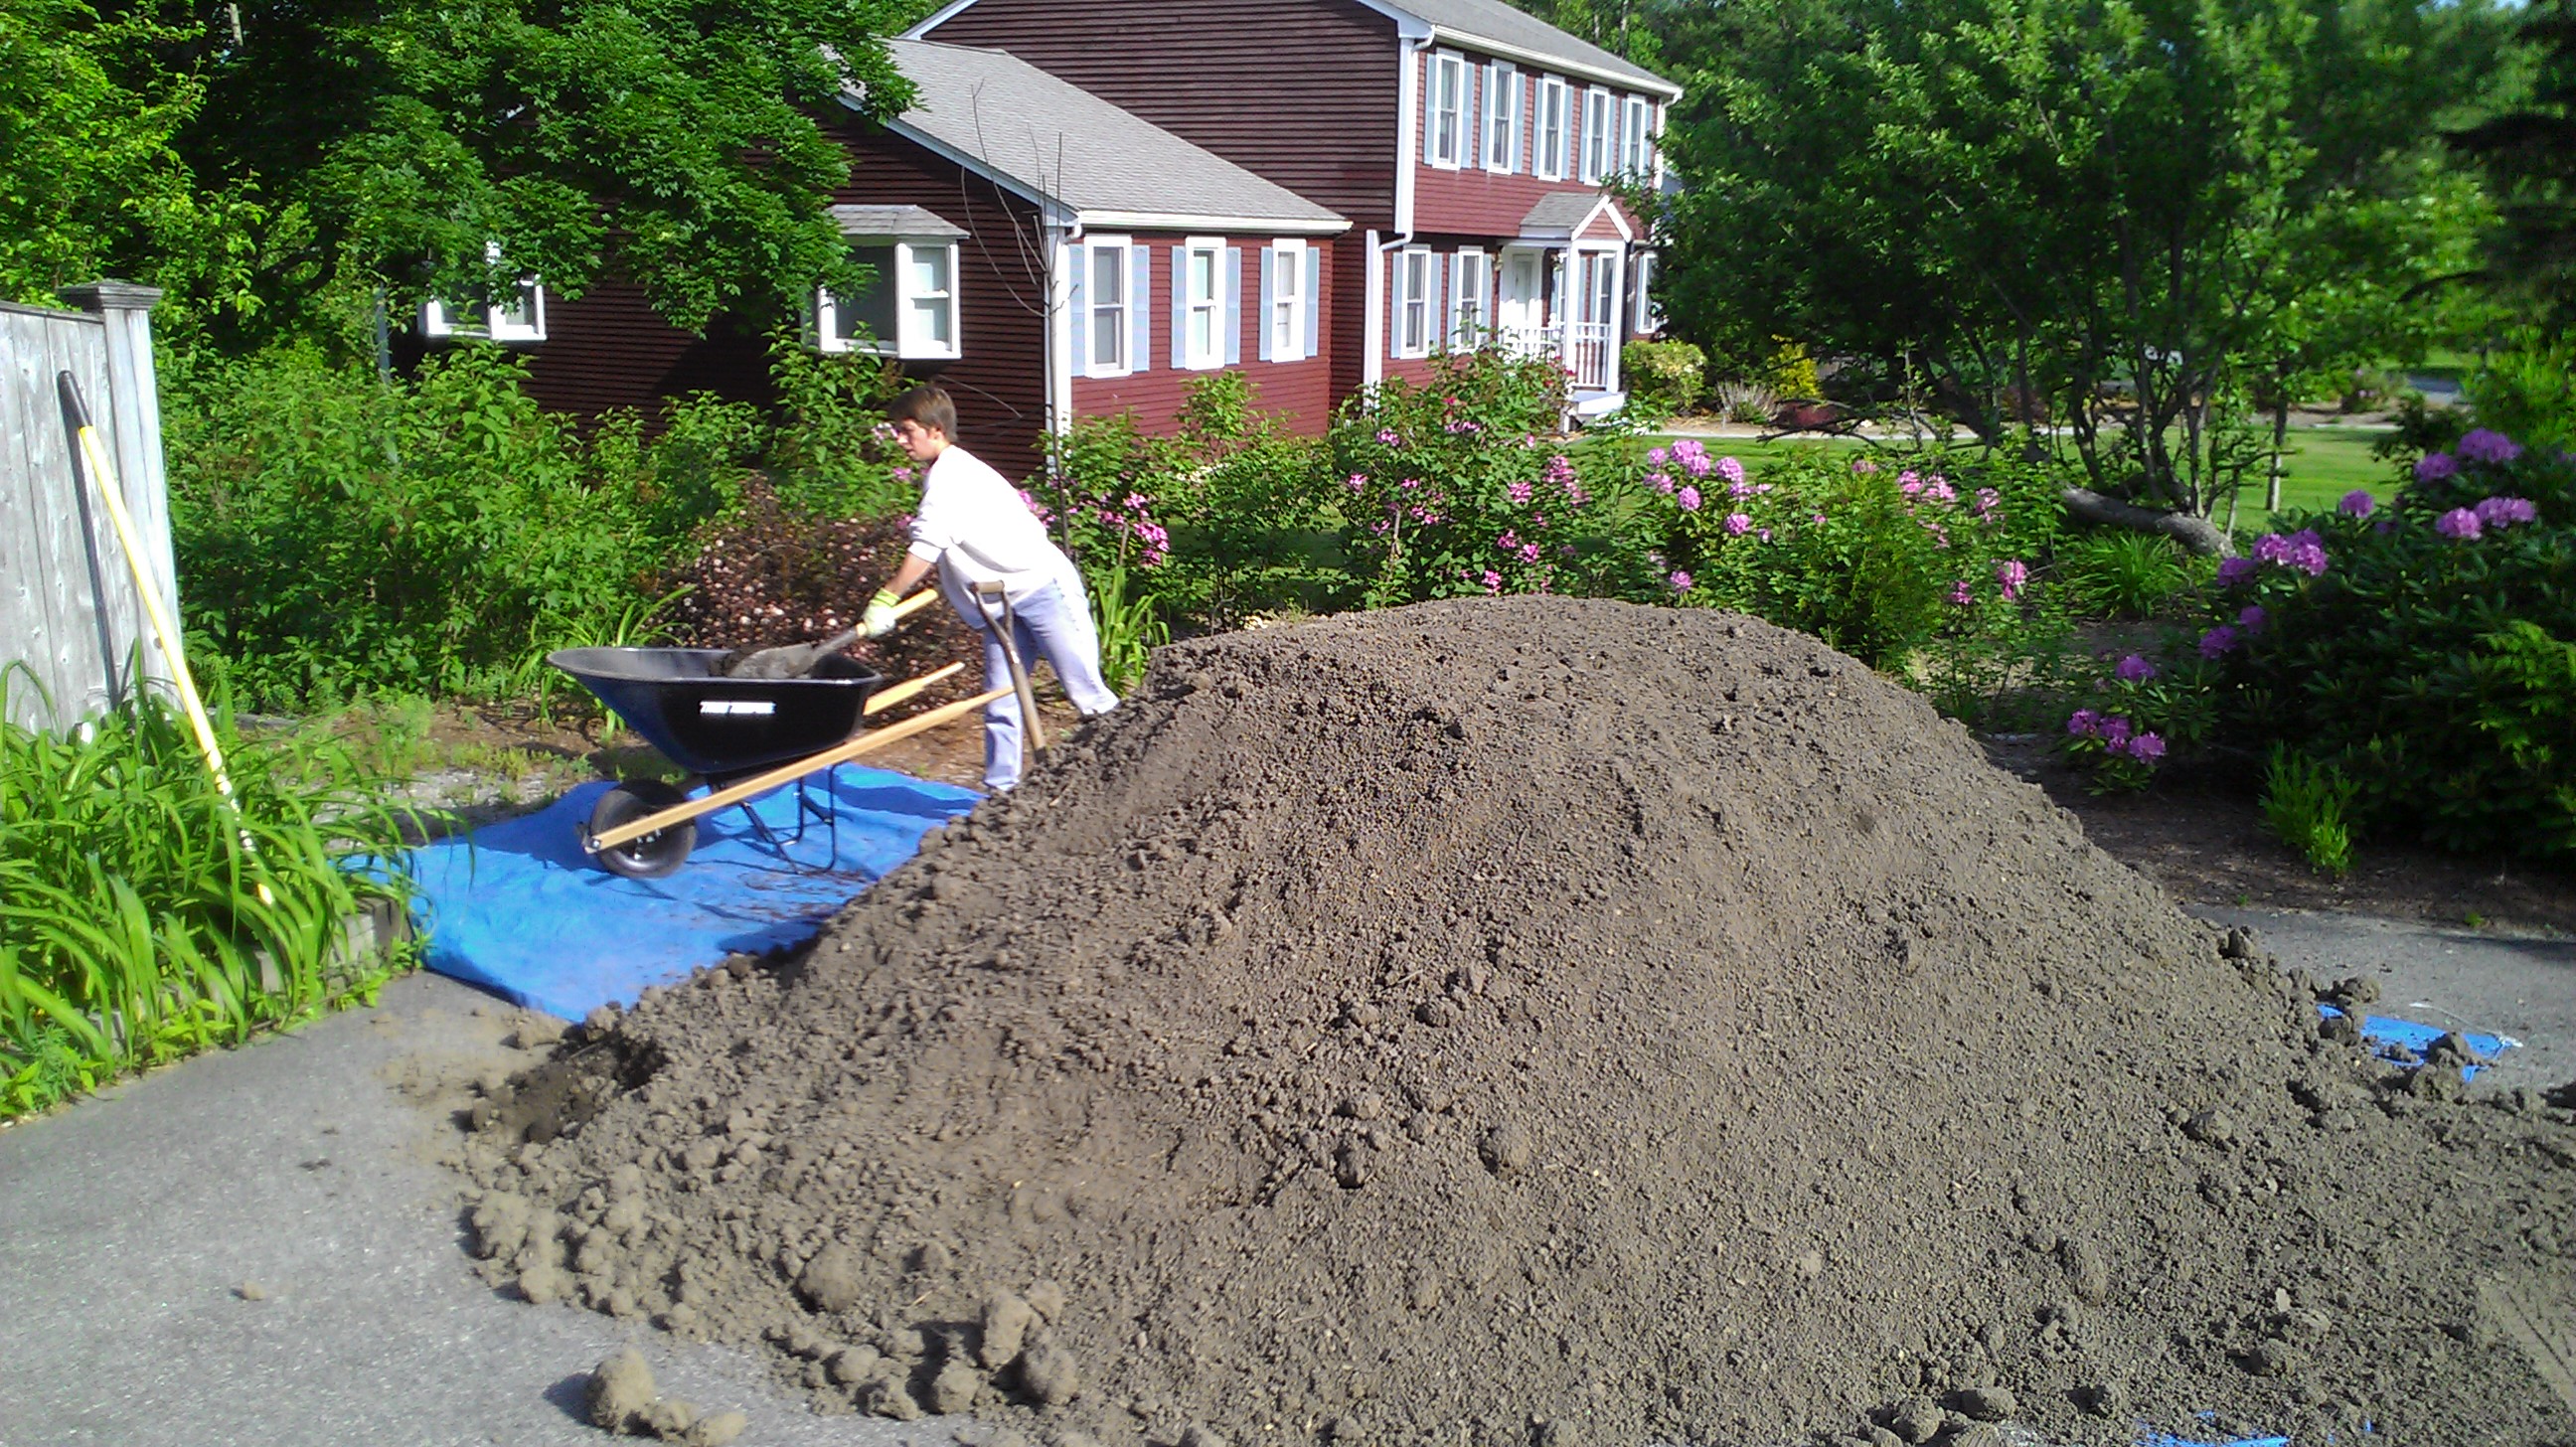
Once the beds were built and the gravel was cleared enough to place the beds it was time to order loam. Seven yards of loam arrived last Friday in a pile on our driveway. The weather was going to be sunny and warm Saturday and Sunday with rain on Monday so we had two days to get the beds placed, leveled, and filled.
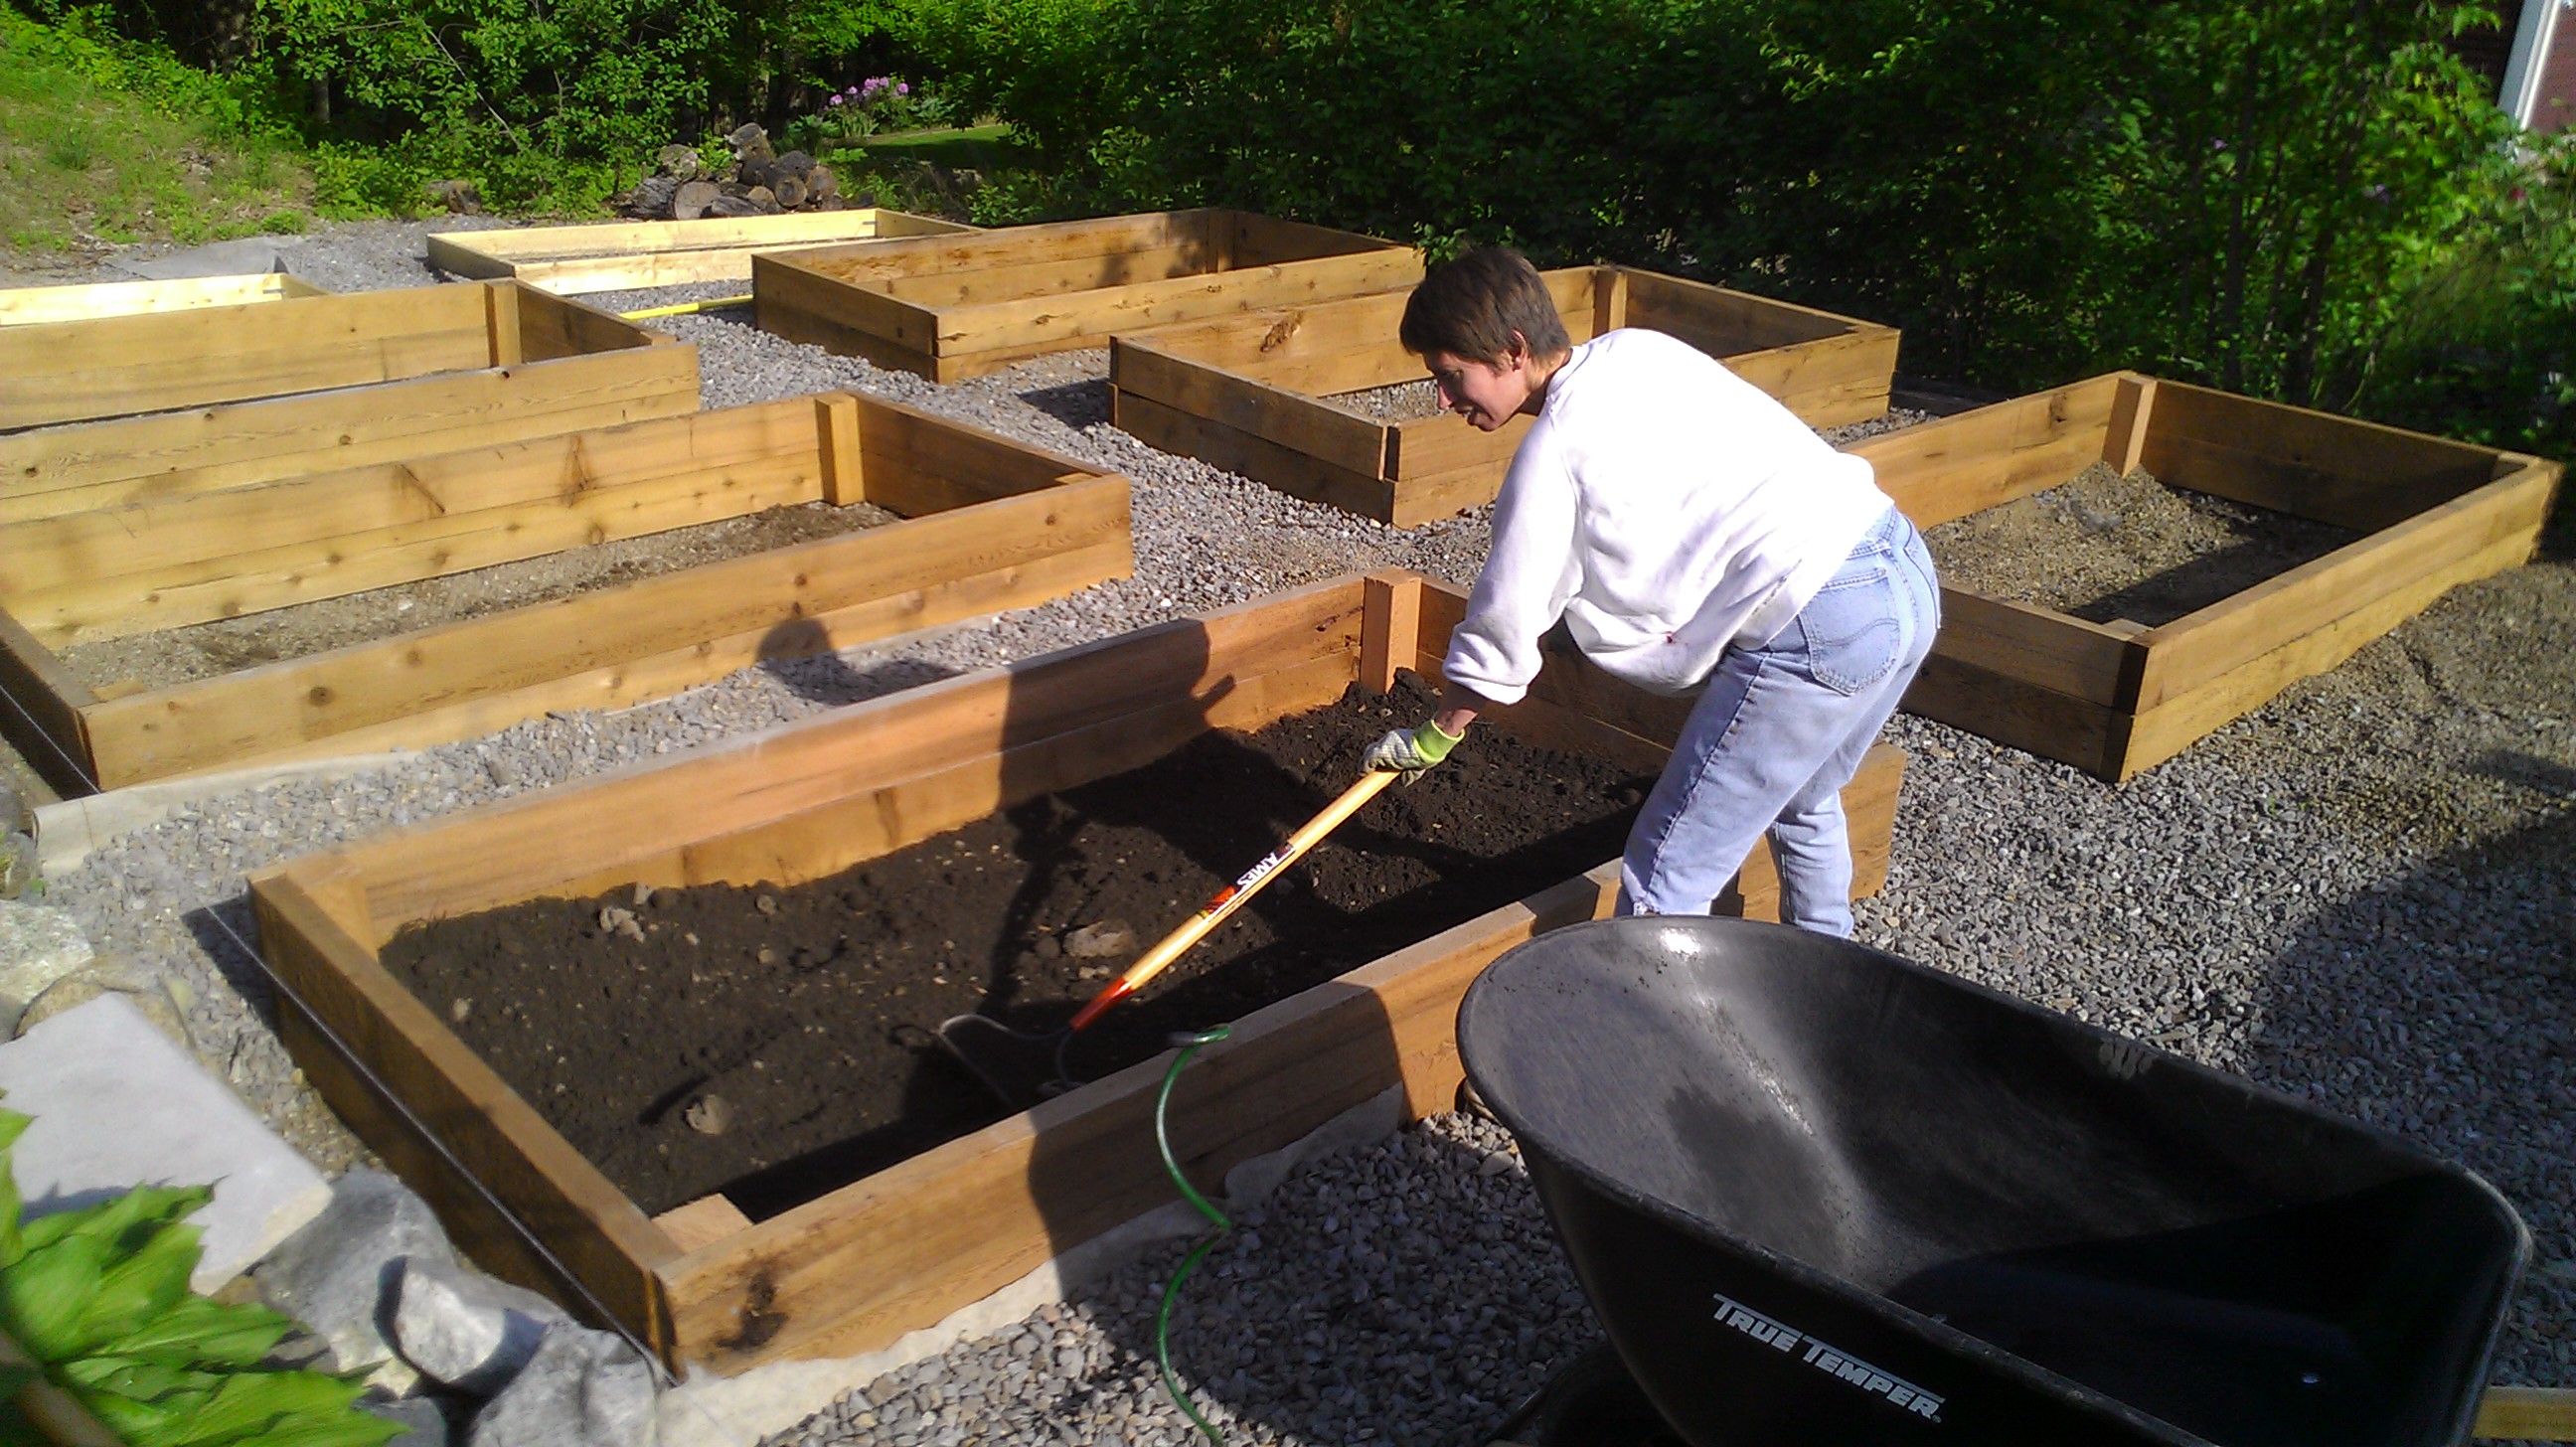
Placing and leveling the beds turned out to be quite a bit of work as the area we were working in has a bit of slope as it went towards the back of the yard. Also, once the beds were placed we had to finish making sure all the plastic was removed from the bottom of the beds. The 2 back beds required digging down another three inches or so in order to get all the plastic out. Finally once the beds were in place we had to move stone back around the beds to use as walkways. By Saturday afternoon we had all 6 beds placed and leveled.
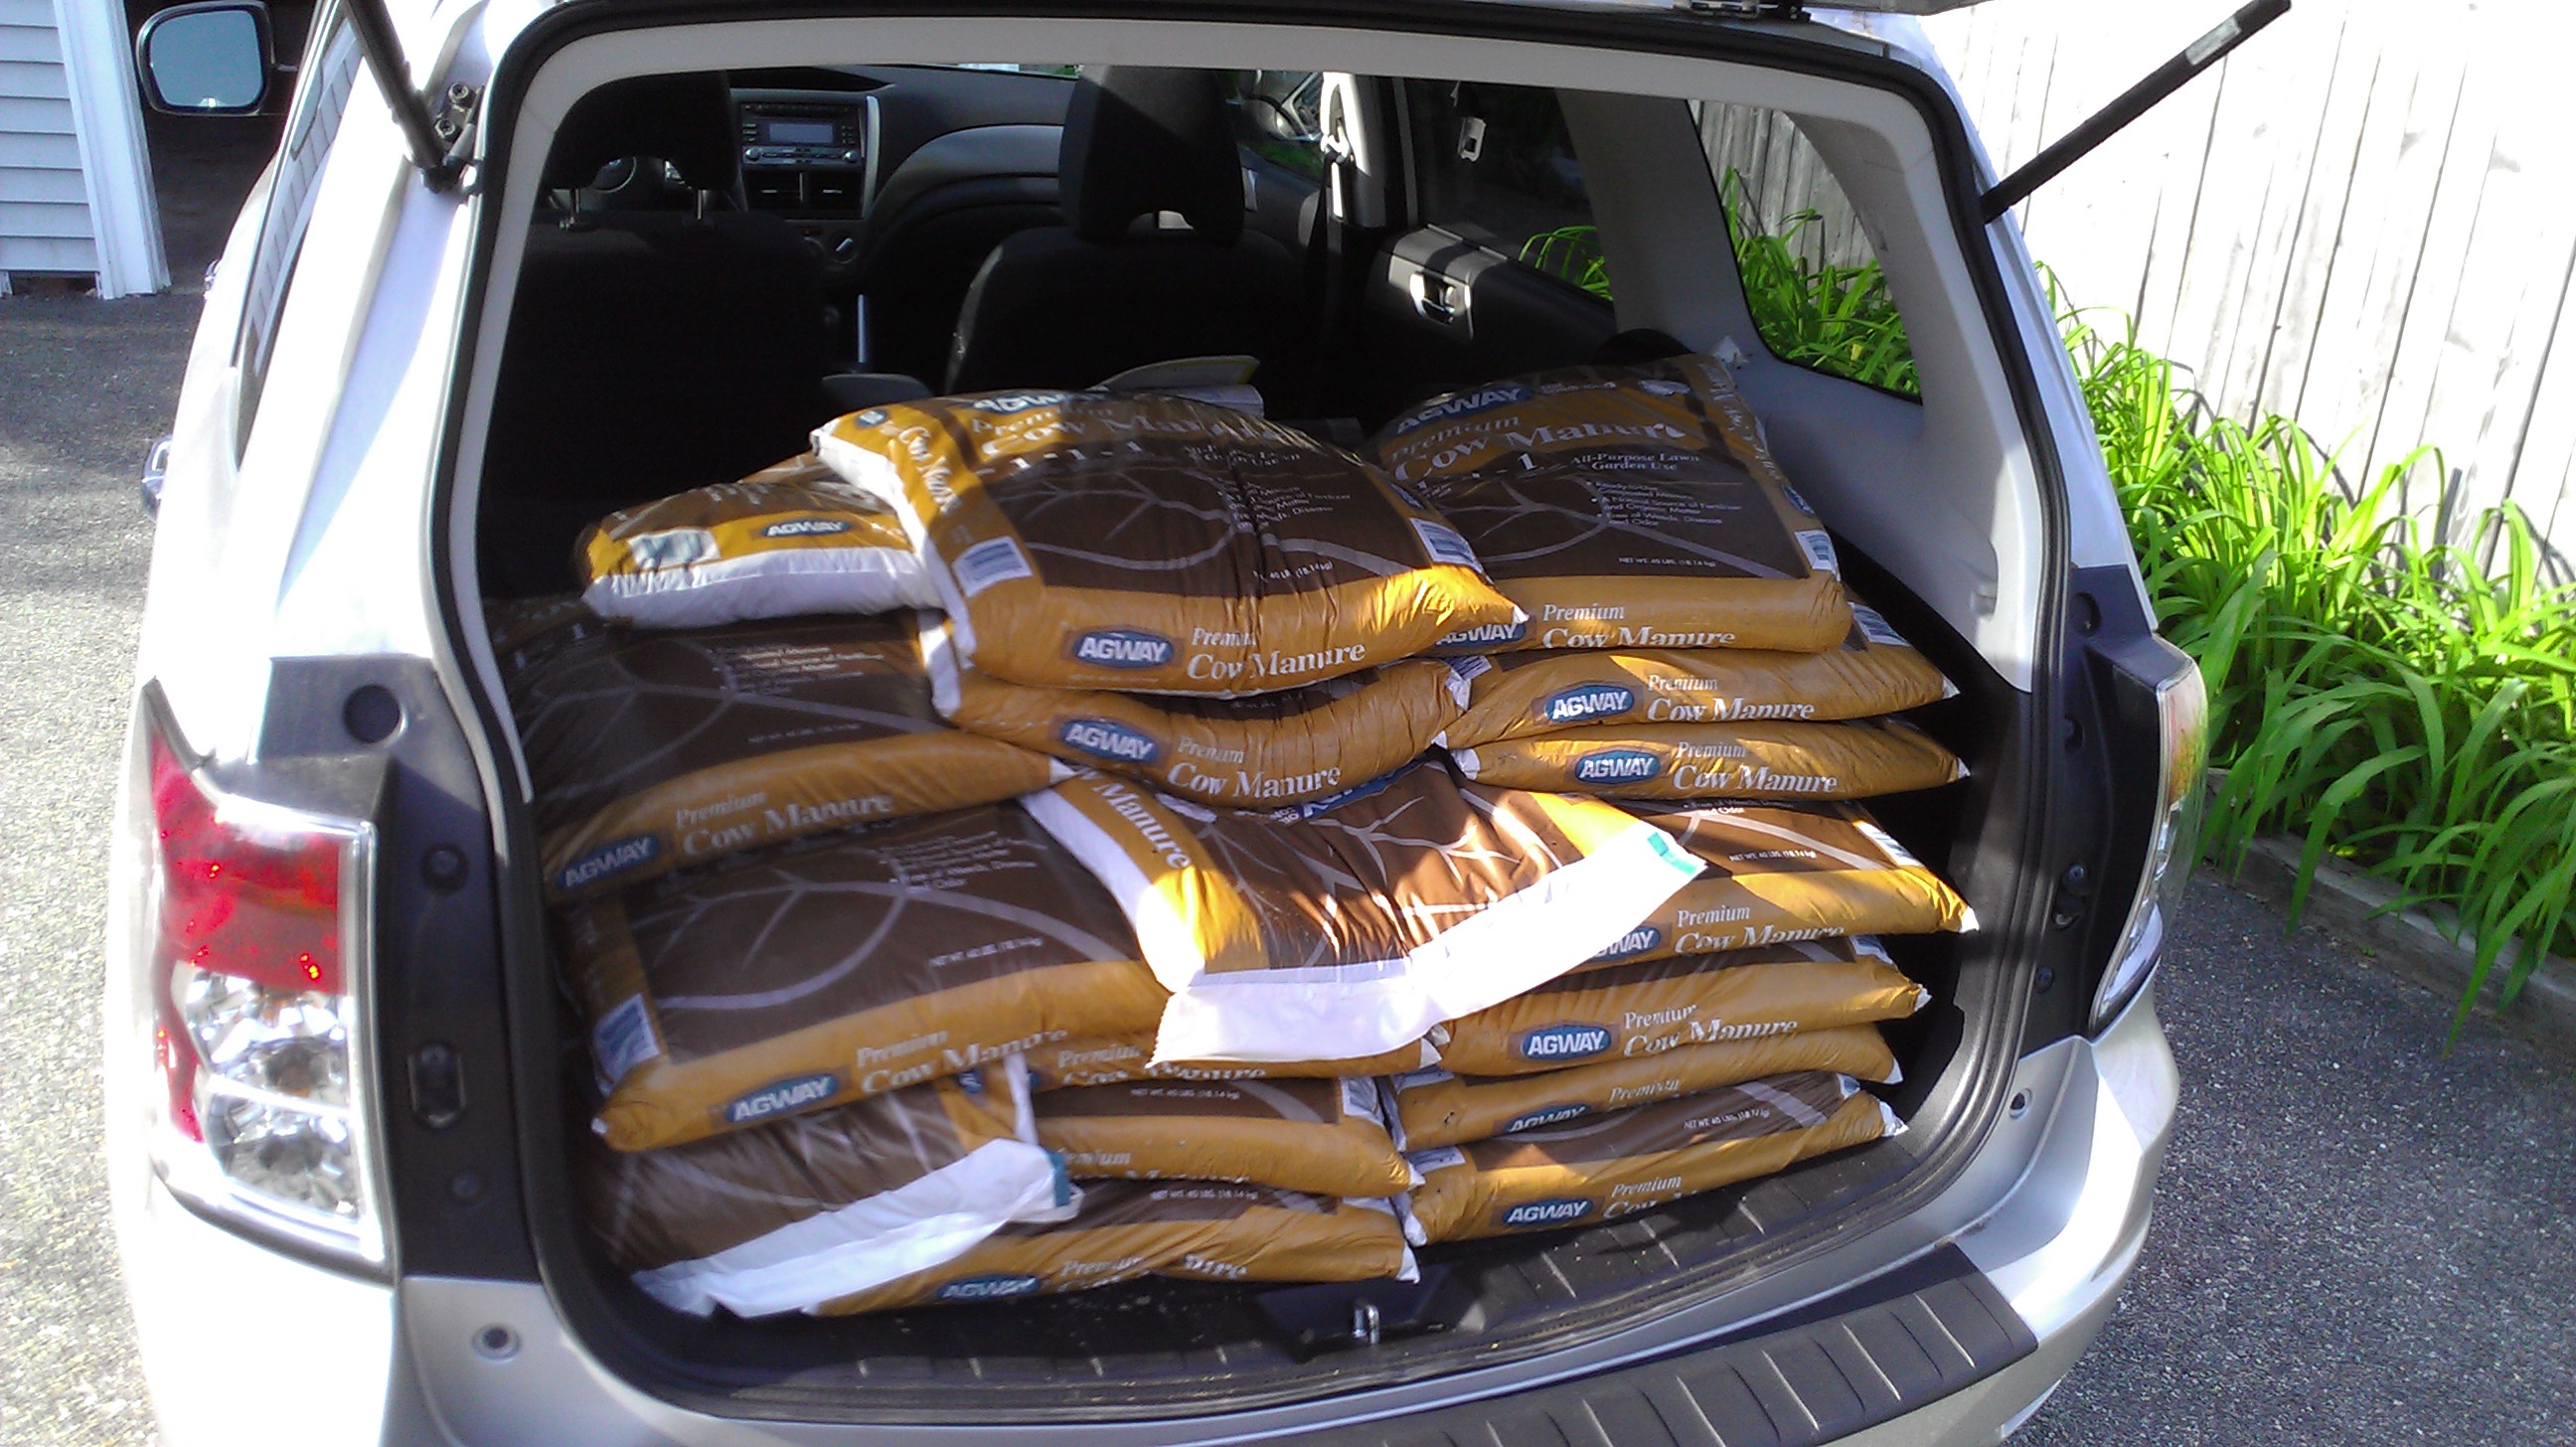
After the beds were placed and leveled we went to the local Agway to pick up some composted manure to give the loam a little boost. Who knew you could fit 1000 pounds of manure in the back of a car? In the future we will use compost from our backyard composter to enrich the soil.
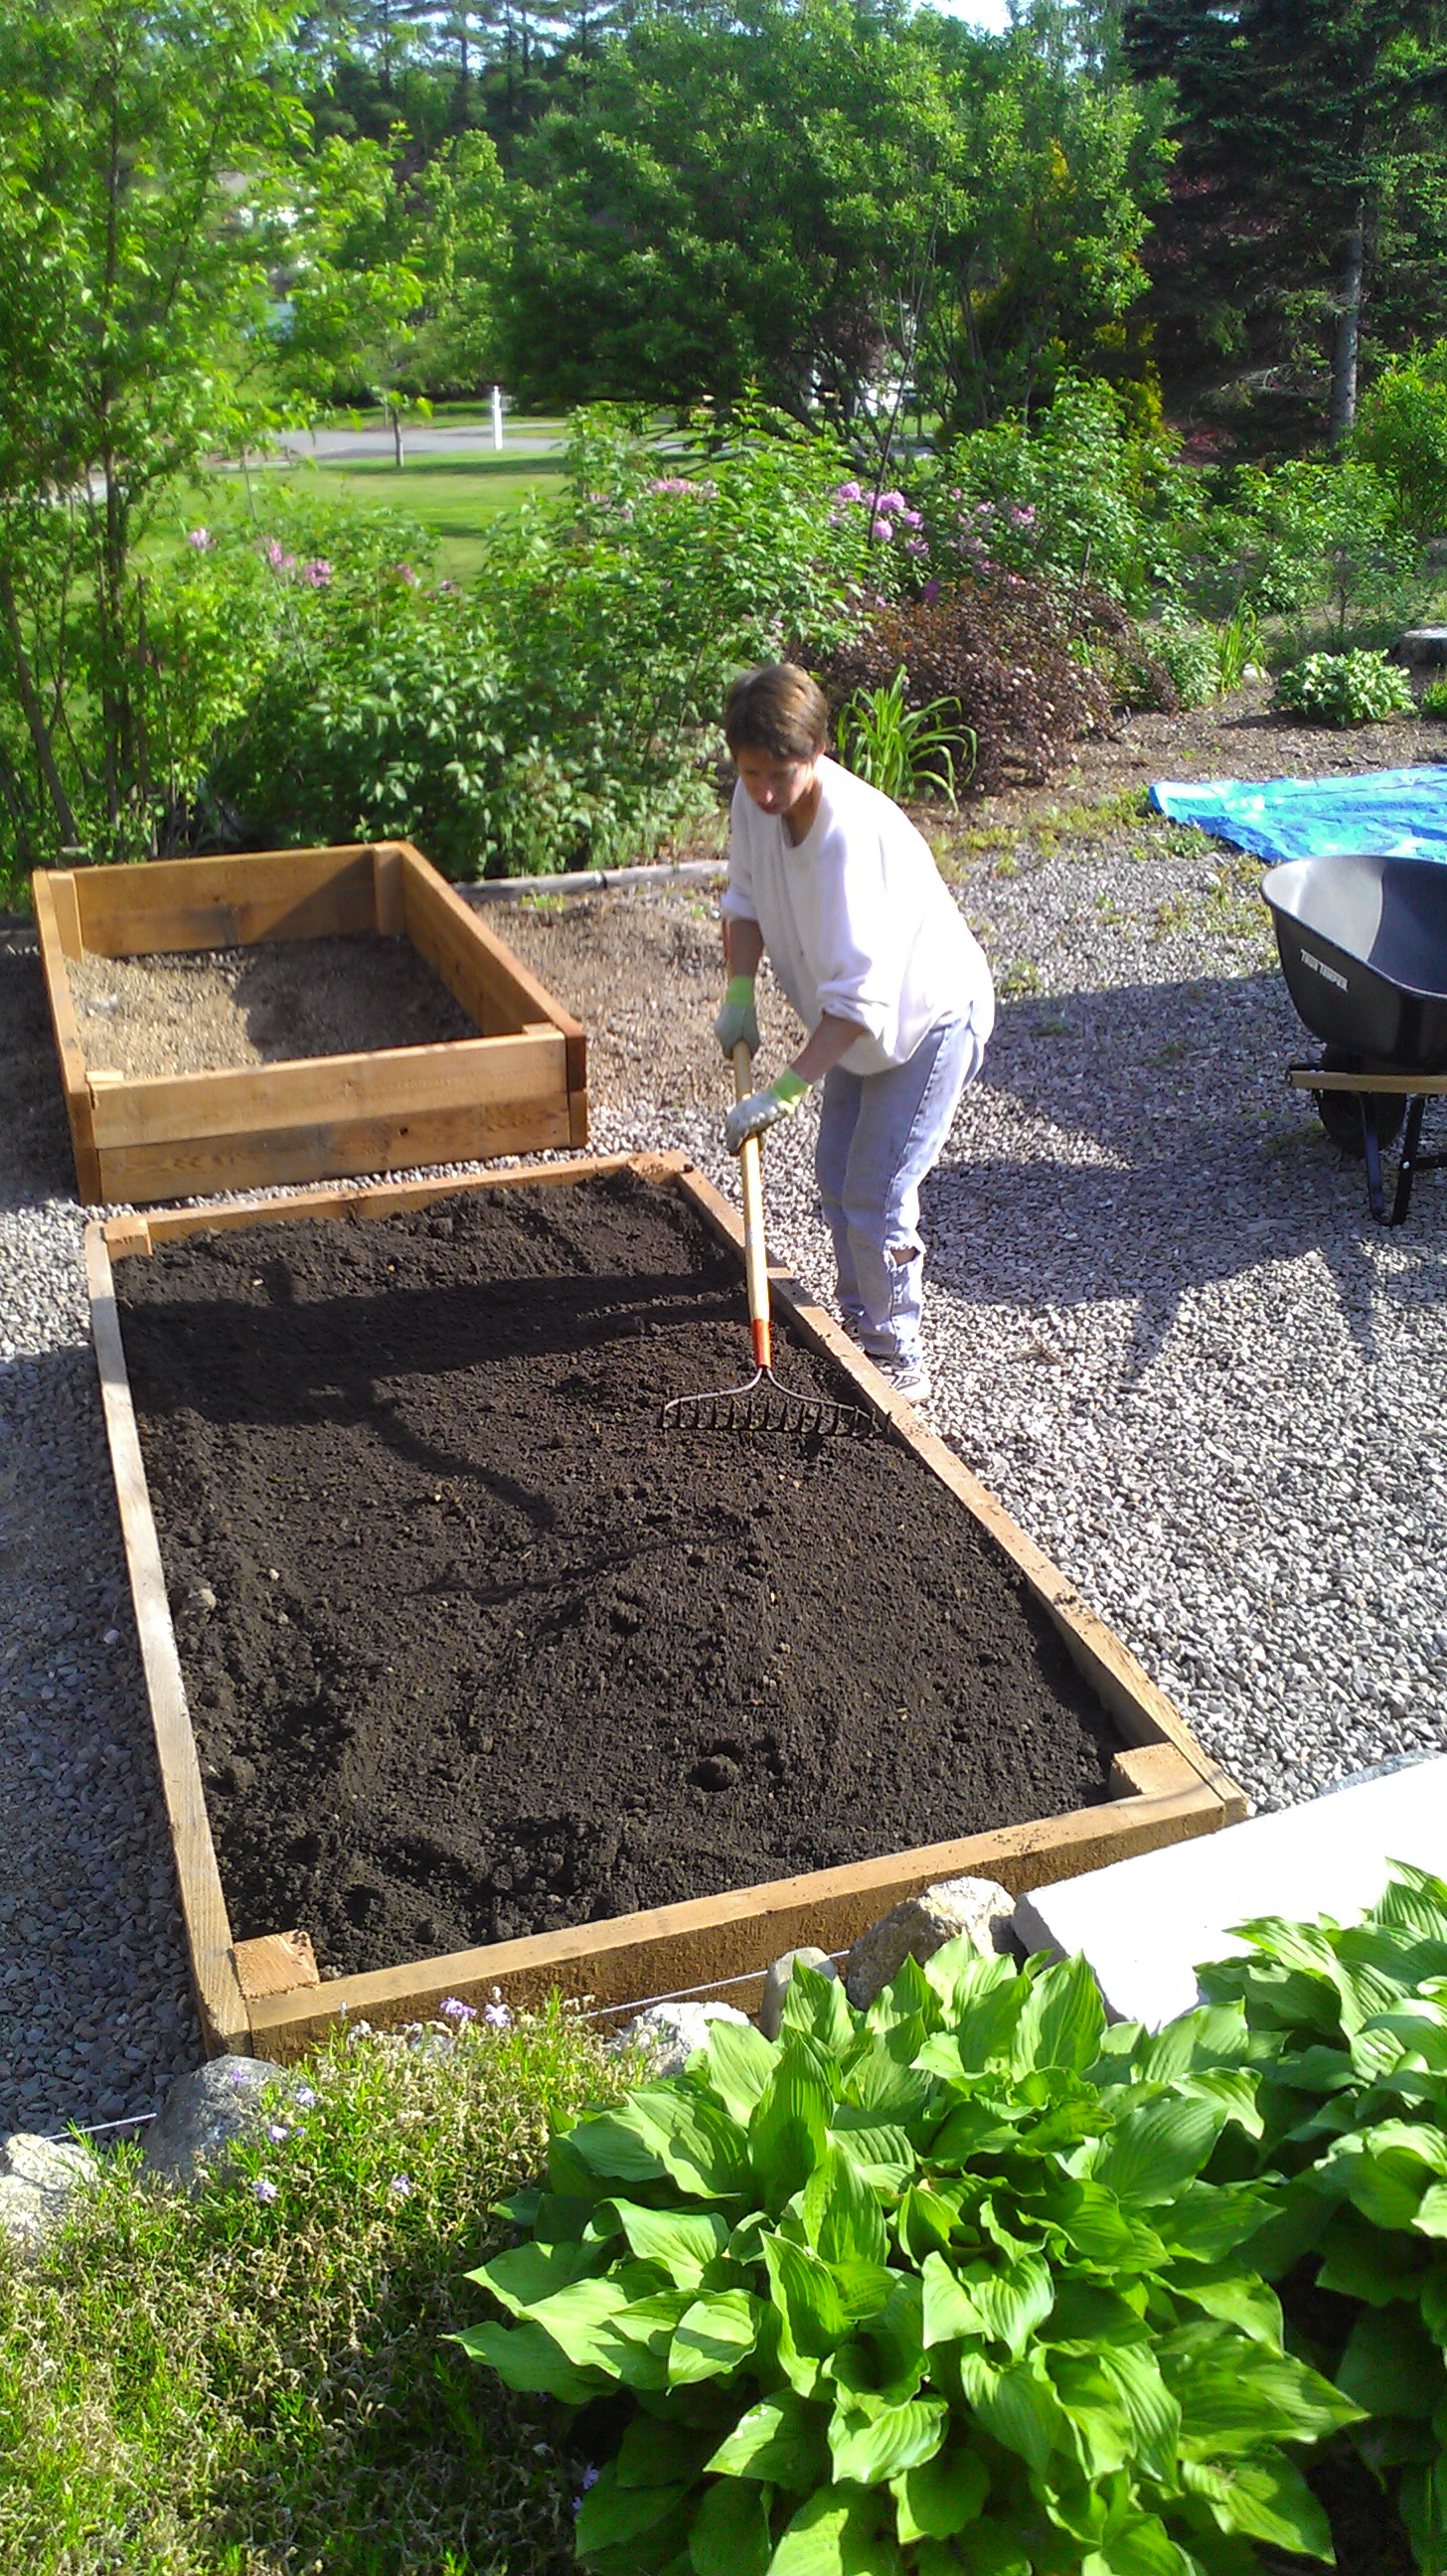
Sunday morning we got up early and finished pulling plastic out of the bottom of the beds. We then filled each bed with loam to about 6 inches from the top, then added and inch or two of composted manure, and then topped it off with loam.
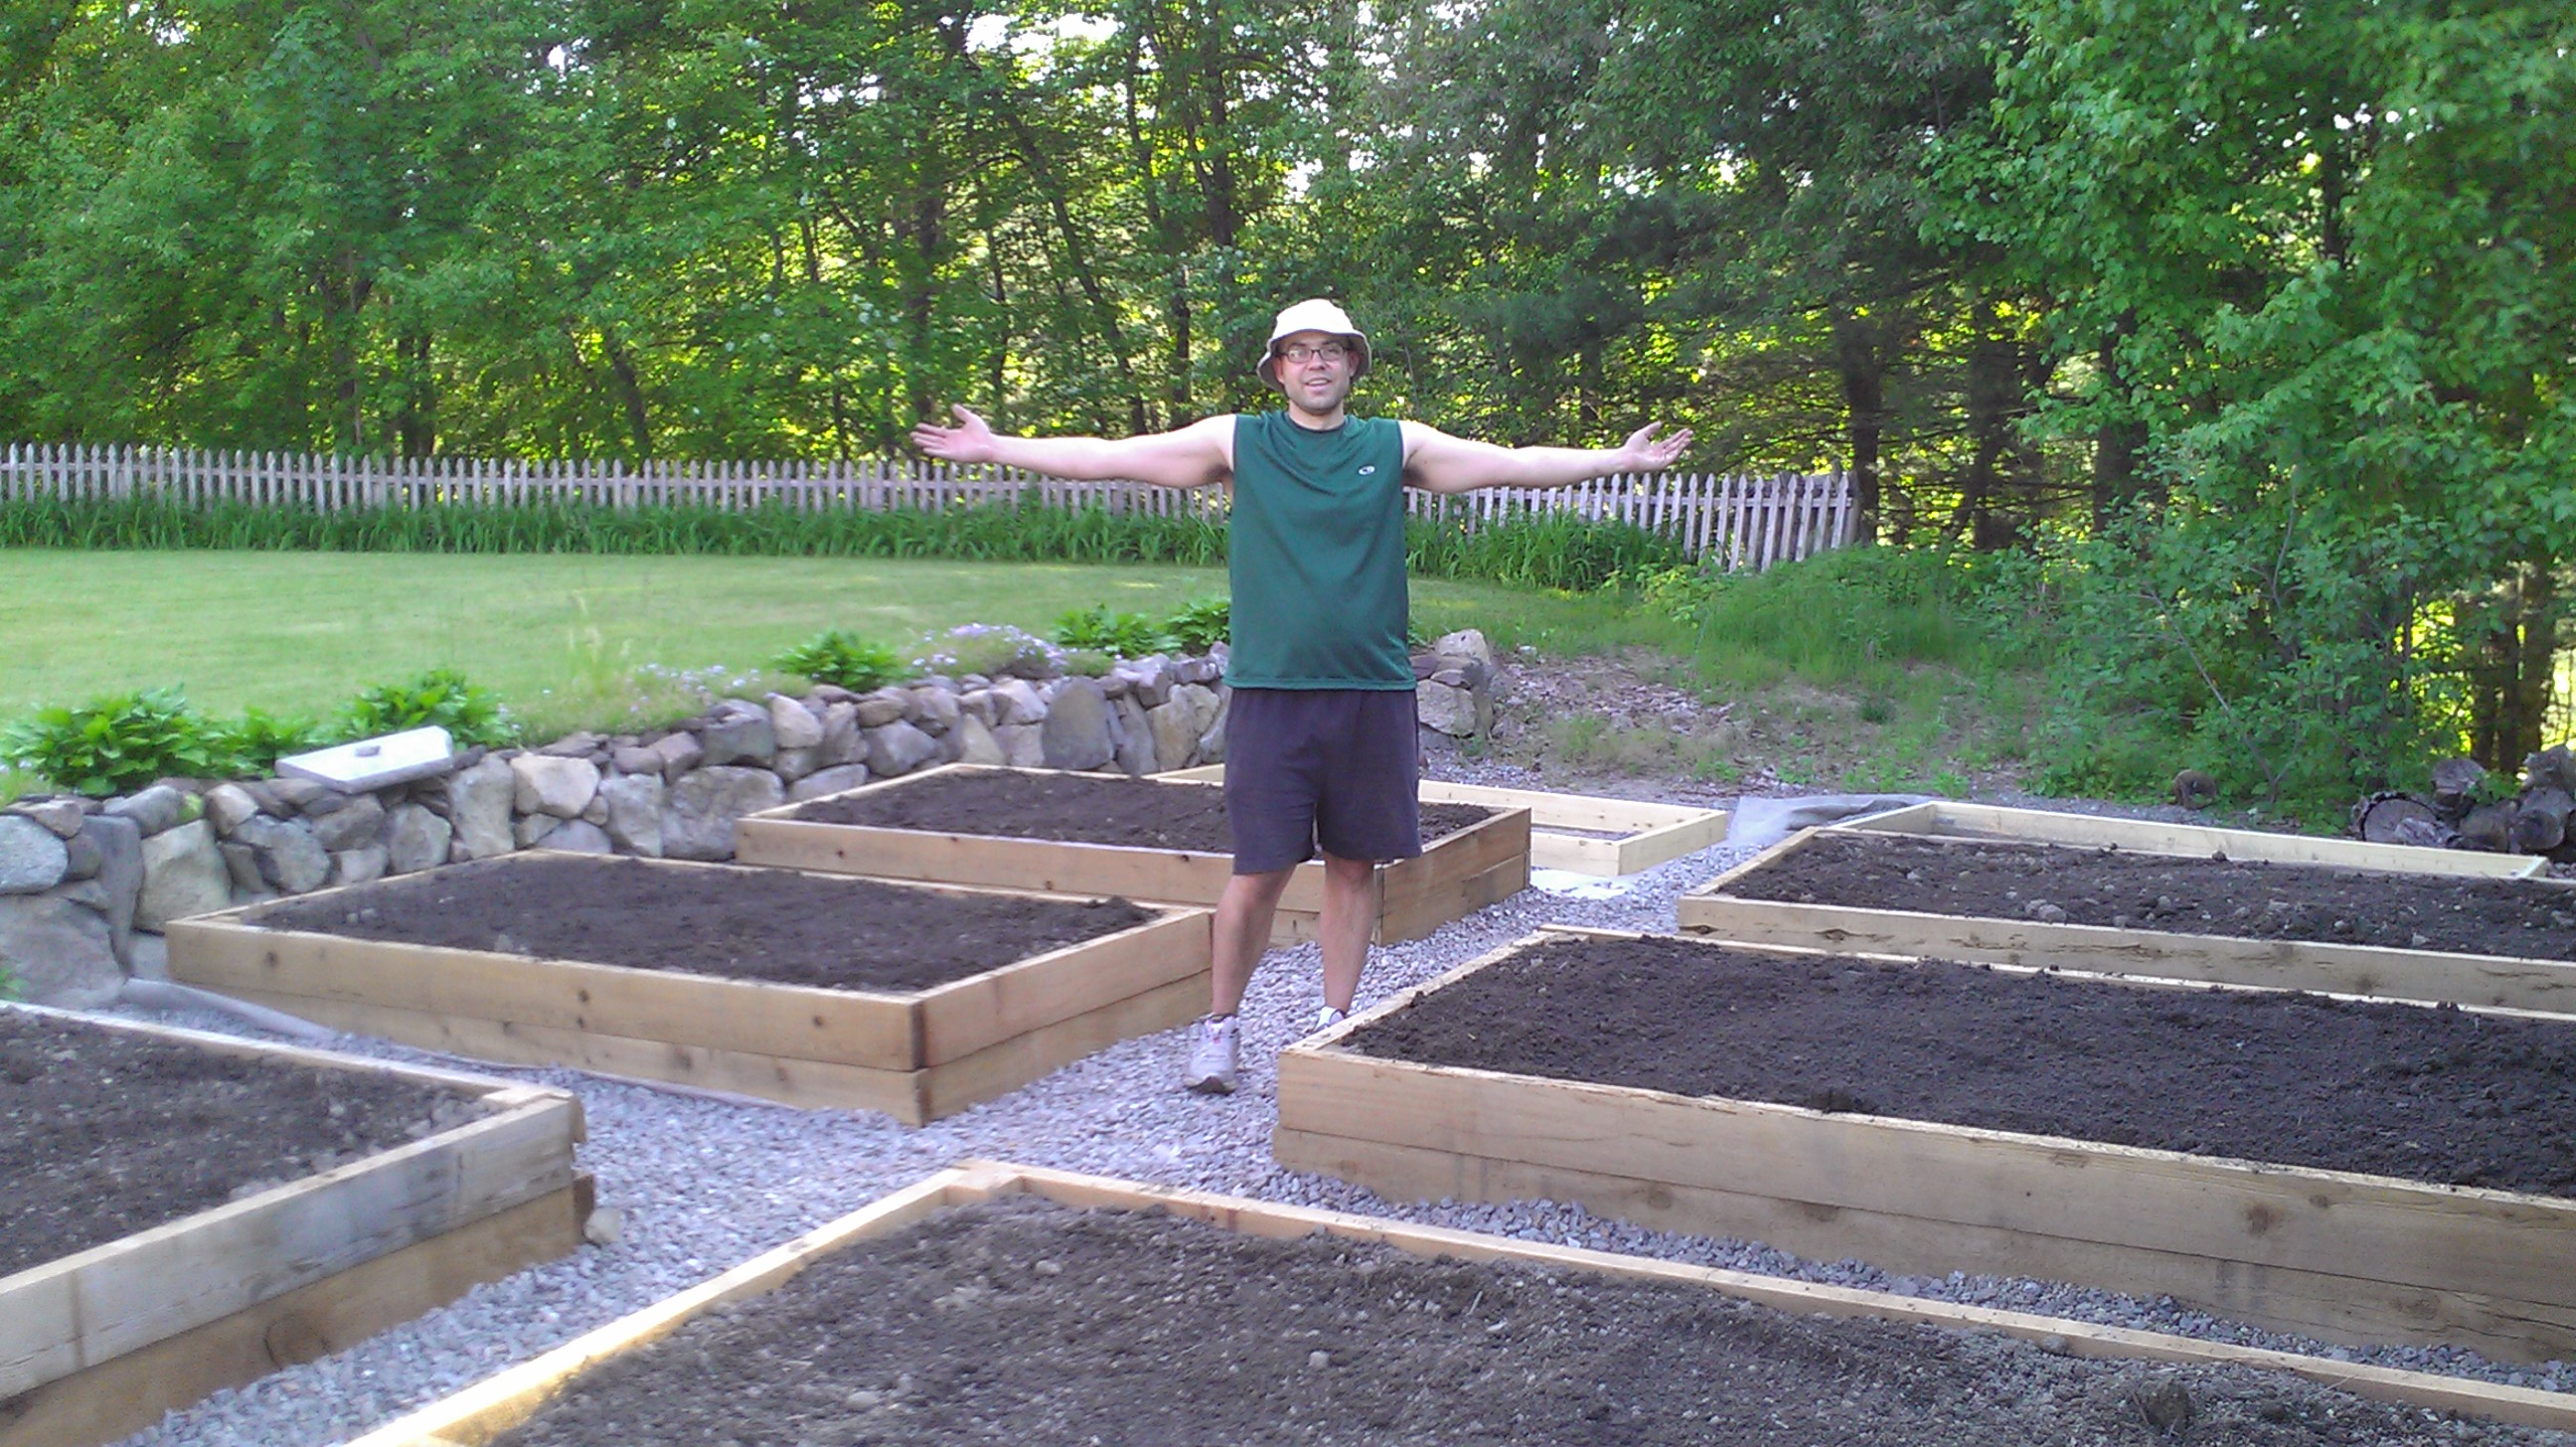
We finally finished up about 5pm on Sunday and were completely exhausted. In the end we ended up moving about 6.5 yards of loam (or about 16000 pounds) in a wheelbarrow in addition to all the stone that we also had to shovel. We’re both sore today, but it looks like we’ll be able to actually plant this week! Future tasks will include putting up fencing to keep deer out and figuring out how to adjust the yard sprinklers to hit the garden but for now, SUCCESS!
Posted: May 21st, 2012 under Brian, Food, Home, Susan, Us.
Comments: 3
Comments
Comment from Kate
Time: May 21, 2012, 7:06 pm
I am envious of your space! I love our riverfront but it’s sure not ideal for veggie gardens. Your set up is awesome! I hope you’re less sore than I am today, I still have about 2000 feet of plastic/cloth to pull up, and no pool to jump in afterwards…the river’s still a bit cold 
Comment from Richard Boucher
Time: May 22, 2012, 5:46 am
Congrats!
Pingback from Juddmansee.com » Sprung has Spring!
Time: April 8, 2013, 9:15 am
[…] I’m not sure whether the fact we still have isolated patches of snow is a testament to the amount of snow we received, the fact that we have a lot of shade in our yard, or both. In any case the danger of snow appears to have passed and it’s time to start gardening. Last year at this time I hadn’t even started clearing the space for the raised beds so we’re certainly in better shape than last year. […]

Write a comment